Ritual Knowledge Hub
Infernet Node Setup
Learn to Set up a Ritual Node
Node Operator Knowledge Hub
Setting Up an Infernet Node
Step-By-Step Guide for Setting up Your Node

Infernet
Infernet is the first production implementation of the Ritual protocol. Smart contracts can request Infernet to compute an output with on-chain proof.
In this tutorial, we are going to set up and test Ritual’s Web3 workflow. This includes:

#1 Preparations & Prerequisites
Step-By-Step Guide for Setting up Your Node
Requirements
For successfully setting up and running Ritual’s Infernet Node, the following is required:
#2 Infernet Node Specs
Hardware Requirements
The requirements of an Infernet Node depend to a great degree on the type of compute workflows it is running. Ritual states in their docs that memory-enhanced machines are preferred.
| Minimum | Recommended | GPU-heavy workloads | |
|---|---|---|---|
| CPU | Single-core vCPU | 4 modern vCPU cores | 4 modern vCPU cores |
| RAM | 128MB | 16GB | 64GB |
| DISK | 512MB HDD | 500GB IOPS-optimized SSD | 500GB NVME |
| GPU | CUDA-enabled GPU |
#3 VPS
Getting a VPS and Configuring it
To install and run your Infernet node at an optimal level, you need a VPS (Virtual Private Server). For the sake of simplicity, we’re going to use Contabo but feel free to use the VPS provider of your choice.
VPS Plan
Ritual recommends getting a VPS with 4 vCPUs, 16GB RAM and 500GB SSD, which is covered by Contabo’s CLOUD VPS 2 plan. If you are planning to run GPU-heavy workloads, you’ll have to purchase a more powerful machine.

Please select the following configurations.
Term length: Select anything from 1 month to 12 months (recommendation is 1 month).

- Region: Select EU or anywhere in Asia.

- Storage Type: 400 GB SSD

Image: Docker (in section “
Apps & Panels“) with Ubuntu 24.04.
- Additional Setup: Don’t change settings in “Object Storage”, “Networking”, and “Add-Ons”


Connect To VPS via SSH Tunnel
Once you’ve purchased a VPS package, you can use SSH to connect to it. Feel free to select the SSH client of your choice:
Enter the IP address & port of your VPS in the section Host Name (or IP Address) and click on Open.

Specify your user name as root and enter your password to log into your server.

#4 Installations
Installing Build Tools and Other Relevant Software on Your VPS
Once you’re logged into your VPS, we can install all the required tools for running a Ritual node.
Update Packages
The packages on your server may not be up-to-date so let’s update these first via:

Install Build Tools
Next, we are going to install the build tools needed to run a node (curl, git, jq, lz4, and build-essential):

Install Docker
We can now install Docker via the following command:

Install Docker Compose
Once Docker is installed, we can install Docker Compose next. Please visit github.com/docker/compose/releases for the latest version. At the time of writing this, the latest version is v2.29.2. You may have to replace the version number in the command below once a newer version is live.

We also need to assign the Docker Compose directory higher permissions.
Install Docker Compose CLI Plugin
Make plugin executable
Verify installation
Add User to the Docker Group (Recommended)
If you are not working from root, please add your user to the Docker group:
Reboot system to apply changes:
Log back in and verify everything works fine:
#5 Starter Repository
Cloning The Starter Repository
We’ve now successfully installed all the tools we need. In the next step, you’ll clone the starter repository to your local machine. Clone locally:

After cloning it, please navigate to the repository via:
#6 Running hello-world
Getting Started
In this step, we are going to run the hello-world container.
We are starting a new screen session with the name “ritual” so that the Docker container continues running even if we lose connection with the VPS.
We are going to deploy the hello-world container inside this session:
Detach from your session with:
#7 Node Configuration
Updating the config.json File
Edit config.json
Open the config.json file in the second terminal window that you have just opened:
Update the config file as follows (either by using arrow down ↓ and right/left → ← to get to where you want to make a change or via CTRL+_ and specifying the line number). You can then delete the existing content and insert the new variables via CTRL+SHIFT+V:

Please also edit the snapshot sync settings in both config files (/hello-world/container/config.json and /deploy/config.json) to increase sleep (makes node less aggressive) and to avoid RPC rate limits (decrease batch size for public RPCs to 50):
Please also set trail_head_blocks to 3 in both config files.
Save and close the file by pressing CTRL + X. Confirm changes with Y and hit ENTER to exit.
Now change RPC URL, registry, and private key in this file as well:
Then change registry address in this file as well:
Summary: Please make sure the registry address was changed in all of the following files:
Edit Makefile
Open the Makefile:
Update Deployment Script
Go to deployment script:
Change coordinator address to 0x8D871Ef2826ac9001fB2e33fDD6379b6aaBF449c
Change registry address to 0x3B1554f346DFe5c482Bb4BA31b880c1C18412170
Save and close via CTRL + X.
Edit Node Version
Change the node’s image to the latest version (today, this is 1.4.0 but be sure to check for the latest version).

#8 Initialize Configuration
Applying the New Configuration
Restart Docker containers one by one (in second terminal session):
Verify the restart was successful listing all running containers:

You can now check if changes are active via (replace <Container ID> with ID of deploy-node-1 container. You can get the ID via docker ps.

#9 Install Foundry
Installing Foundry And Dependencies
We can now install Foundry in the second terminal window. (Foundry is a modular toolkit for Ethereum application development). Change to home directory:
Create a new folder:
Navigate into it:
Execute the script from Foundry’s official source
Update your shell configuration by sourcing the .bashrc file
Run foundryup to ensure Foundry is fully installed:

We then install the necessary dependencies by navigating into the directory of the contract and installing required libraries and SDKs. Navigate to the contracts directory:
Install the forge-std library:
If you are getting the ZOE ERROR (from forge): zoeParseOptions: unknown option (--no-commit) please use this command before installing Forge:
Install the infernet-sdk:
Go to the directory three levels up

#10 Deploy Consumer Contract
Deployment Process for a Consumer Contract
Docker compose down/up for all containers
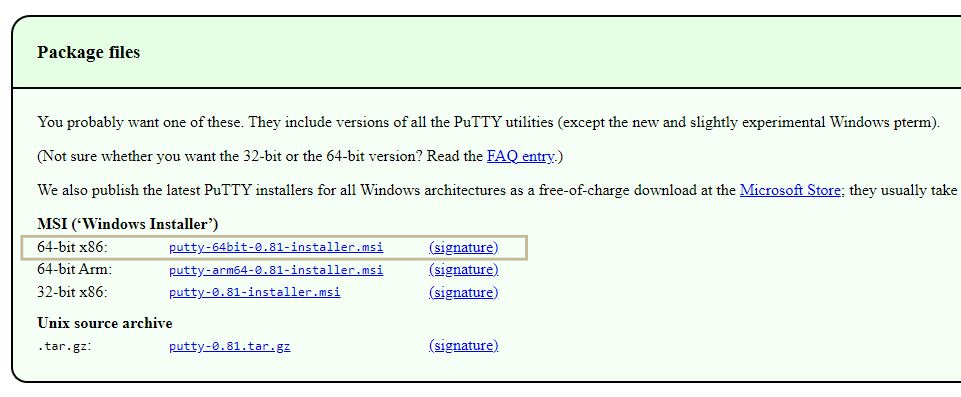
Open a third terminal window for monitoring the logs. (Open new PuTTY instance, enter IP of your VPS, click on Open and enter your password). Then print the logs via:
Next, we can deploy a consumer contract that will interact with the Infernet SDK. To do this, we are using the SaysGM example by Ritual. It is designed to request a compute output from your node and prints the compute result. To deploy SaysGM, enter your second terminal session and enter this command. Navigate to the repository:
Deploy the SaysGM contract:

You can check the result in your third terminal window. If everything was successful, you will see a new transaction. If so: Congratulations! Your deployment was successful and has interacted with the blockchain.
You can also check via Basescan.
#11 Call Contract
Initiating a Request to Infernet Node
Look at the logs and check to which address your SaysGM contract was deployed to.

Edit your CallContract.s.sol file by inserting the new contract address. The preconfigured address is SaysGM saysGm = SaysGM(0x13D69Cf7d6CE4218F646B759Dcf334D82c023d8e), change it to the address that was generated when calling SaysGM:
Switch back to your second terminal session and initiate a new request for the Infernet Node:
This will trigger the SaysGm contract (via an initiation transaction). You can monitor this process in your third terminal window. A new message will confirm the transaction, confirming that the contract interaction was successful.
Please wait for a few moments. You will then see a new contact from the Infernet Node.

#12 Verify Node Setup
Checking if Everything is Working Correctly
Check Basescan
You should now see two transactions in your wallet on Basescan. The first one is for registering your node and the second one is for activating it.
Check Node Logs
Please check your Docker looks to ensure everything is running smoothly.
Redis Troubleshooting
Solving Redis Issues